As we were clearing portions of the creek last year, one tree took us by surprise. It looked like a Black Walnut, yet the bark was all "wrong". Instead of being rough and dark brown, it was smooth and grey. We thought the tree was either an Ash or a Black Walnut.
 |
| The mystery tree turned out to be.....White Walnut or Butternut |
By the time Spring came, we knew the tree was a nut tree. It had developed catkins and was not flowering like an Ash. And of course since that time, the nut of the tree has developed. Since the fruit is elongated, this is certainly not a Black Walnut.
 |
| The Butternut or White Walnut in its husk |
It is harder to crack than the English or Persian Walnut, but much easier to work than the Black Walnut. The nuts are large and tasty, similar to a Persian Walnut.
 |
| The Butternut or White Walnut |
Another nut which is becoming an important part of our lives is the Black Walnut. Already last year, we discovered how to process them and experimented with various recipes. We had collected a wheelbarrow full of nuts and they were all rapidly consumed.
This year, we decided to process much more. Over the past few weeks, we collected four times what we did last year. As the fruits have ripened, this week was also the beginning of Black Walnut processing. This will probably go on for a month and we will publish updates on our methods as we go along.
The first step started this week by removing the husk. The best time to do this is as the fruit begins to brown and turn black. Waiting too long, the husk rots and turns into a black ooze which is difficult to clean. Not waiting long enough, the husk will be much too hard to tear away from the nut.
If right, removing the husk from the nut should feel like removing the stone from a peach.
 |
| The first step in Black Walnut processing: removing the husk from the nut |
Once husked, the nuts are tossed into a large container of water. You can simply clean the nuts by agitating the water. Nuts that float are indicative of a compromised shell (either by insect or disease) or an ill-developed nut. These can be disposed of since they are not worth processing any further.
In a few weeks we'll begin the next (and much more difficult) step: shelling.
As we continue to harvest Raspberries and Kiwis, Chef has been rapidly filling the shelves with his new line of preserves. This week, he launched a Tomato and Pickled Corn relish and a beautiful Quince Jelly.
 |
| Chef is rapidly filling the shelves: Quince Jelly |
Last year, we tried Green Tomato Salsa, Fried Green Tomatoes, Green Tomato Relish, and even Green Tomato Pie. What we learned really is that Green Tomatoes are not as tart as you might expect, which makes it a very versatile food.
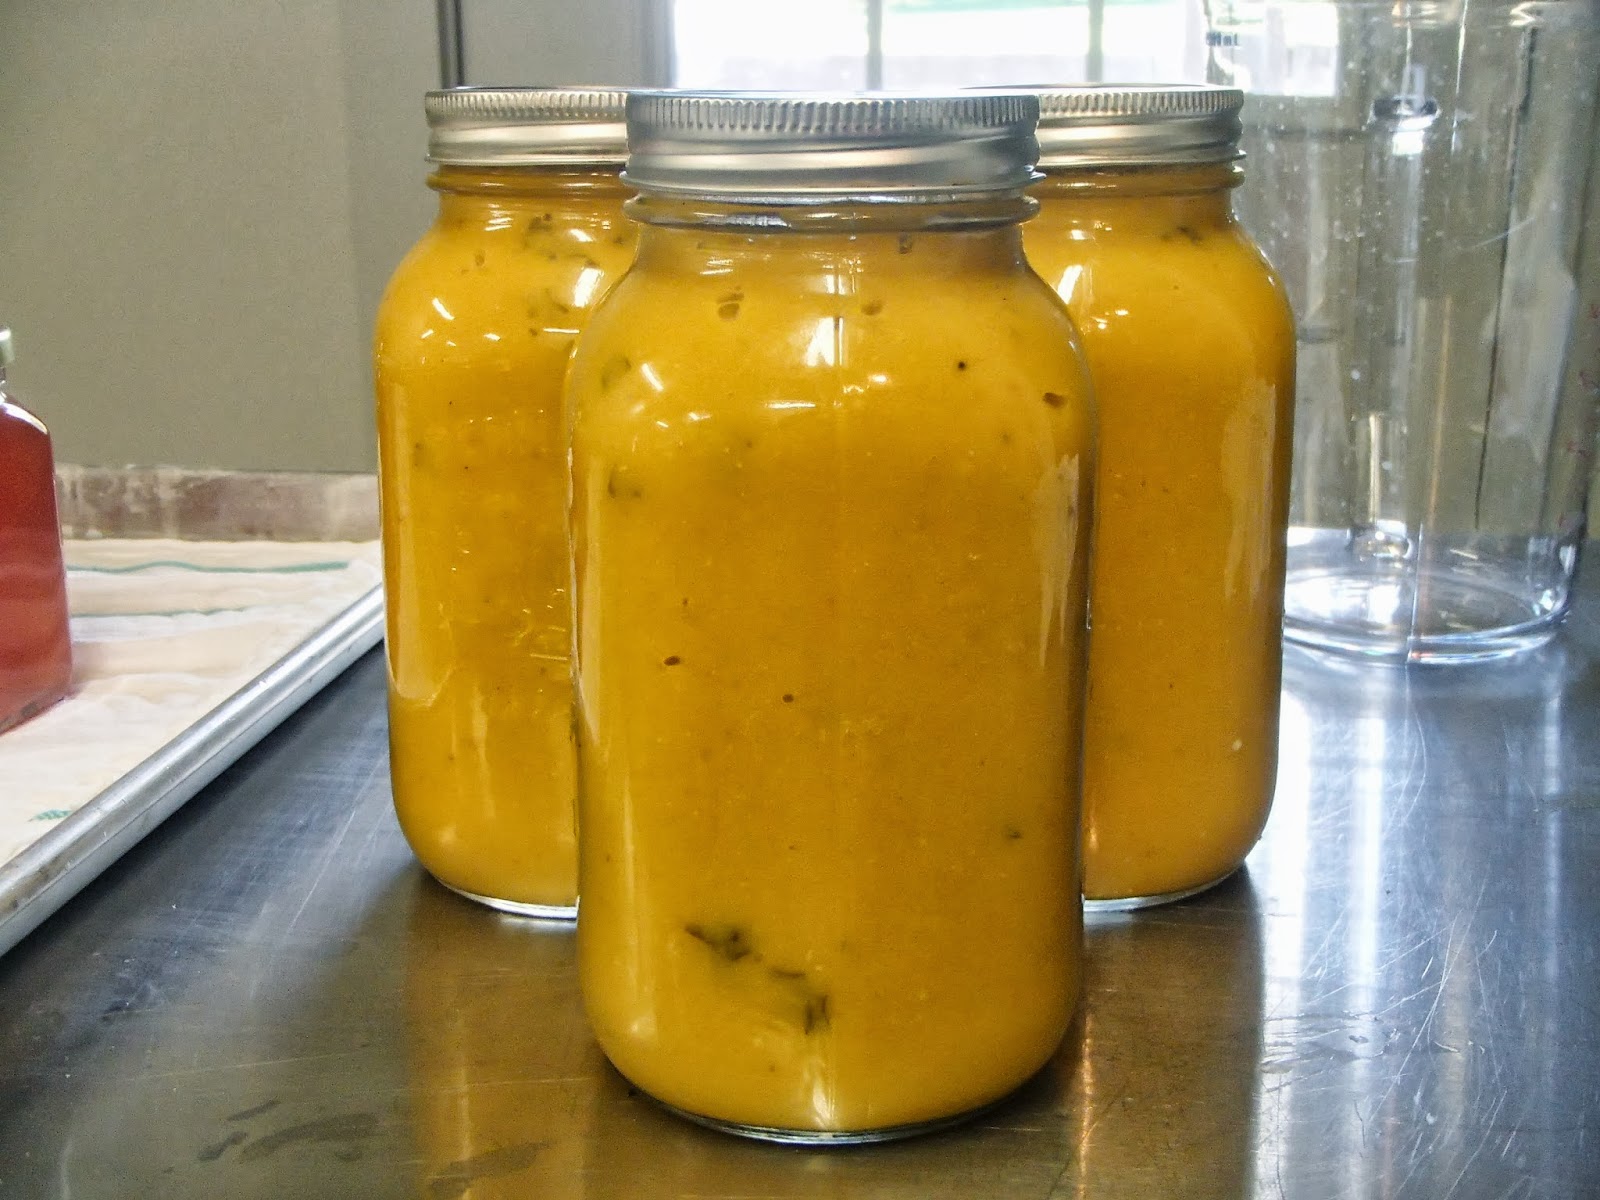
This year, we decided to make life easy. We simply started to introduce green tomatoes in all of our home pantry's sauces and soups....and this is exactly what we did all week with the remnants of our yellow and red tomatoes. For the most part, it is impossible to tell that some of these sauces are at least half Green Tomato.
 |
| Yellow Tomato Sauce ....with Green Tomatoes! |
In the meantime, work continues on the manor. This week was horrifying as we discovered a significant amount of rotting on the old eaves troughs. This extends to the brick walls. In some places the top layer of bricks can simply be removed by hand.
 |
| Around the house, we are discovering significant damage to the wood trims |
Finally this week, we were very surprised to find out that the girls and I made it on the front page of Niagara this Week. Such a good photo....I had to post it :)

No comments:
Post a Comment