For International readers of the blog who always consider Canada a land of ice and snow, well it is nearly Christmas and in this part of Canada no snow yet! The result is more time to work our land.
While doing more Kiwi weeding, this week's more interesting project was to develop and construct a trellising system for these fruits. The problem with our Kiwis is that they were originally trellised using a structure conventional to grape vines, basically a vertical row of three steel cables.
After over a decade the results are Kiwis which have "fallen" on themselves, producing very few fruits (if any - it depends if they were a female or male vine).

We also had "lucky" Kiwis that managed to grasp onto saplings and extend their vines with the growing trees. These Kiwi vines had much greater access to sunshine and produced the majority of the fruits we harvested this fall.

The trellises required of Kiwis resemble arbors, allowing the vines to grow upwards to the sun. One solution is a T-bar trellis with horizontal cables. This we determined we would try for the one row of Kiwis which we had aggressively pruned earlier this fall.
To make these trellises we used 10 foot 4x4 lumber posts and 5 foot 2x4 cross beams. After some trial and error, we managed to create notches at the top of our beams where the 2x4's would sit. These were mounted using anchor bolts.

We decided on mounting five horizontal cables to the cross beams, so each of these were drilled appropriately to fit a 12.5 gauge steel cable. The key to the installation however resides on the tension applied to the cables over the length of the trellis. To achieve this we bought some wire vices, a device that only allows the cable to move in one direction (and locks in the other). We found these at Dubois, a Canadian supplier of vineyard and orchard equipment based in Quebec with just superb service. These nifty mechanisms were mounted on the end trellises.

The next step was the actual installation of the assembled posts. For this step we had to acquire a new tool: a Stihl earth auger. With this auger we drilled 6 inch post holes and attempted to go at least 3 feet into the ground (we used an extension to the auger bit).

We wanted to achieve a trellis height of at least 6 feet, at most 7. We ended up standardizing on 75 inches.
Although the recommended spacing between posts is 15 feet, we ended up installing ours 25 feet apart. We had to do this in order to accommodate the existing Kiwi spacing while also trying to minimize our lumber costs. Hopefully this will be adequate (we will certainly find out as our Kiwis grow).
For our first row, we ended up with 7 posts extending over 175 feet.

Now we are preparing for the cabling which will be next week's challenge.
On the home front, we can now post the before and after for the last 3 pieces of our renovations.
This includes one washroom where we replaced an old and non functional Jacuzzi tub with the shower stall.


For the bathrooms, we chose an Art Deco look in both tiling and finishes. The tiles are a black and white mosaic very much reminiscent of that time.
The Mansard roof creates sloping walls on our second floor. This was a problem that we needed to adjust for. In this bathroom, we used the space with customized cabinetry.
For the second bathroom, we kept to the Deco theme.


Here we transformed a laundry room and some old cabinetry into a full bathroom.
Furthermore, we re-built an old hallway linking the main house to the west wing (this space was part of the old laundry room).

The country store in our old barn is also coming along. This week, the old concrete floor was torn out. and while digging we discovered a massive amount of stone.
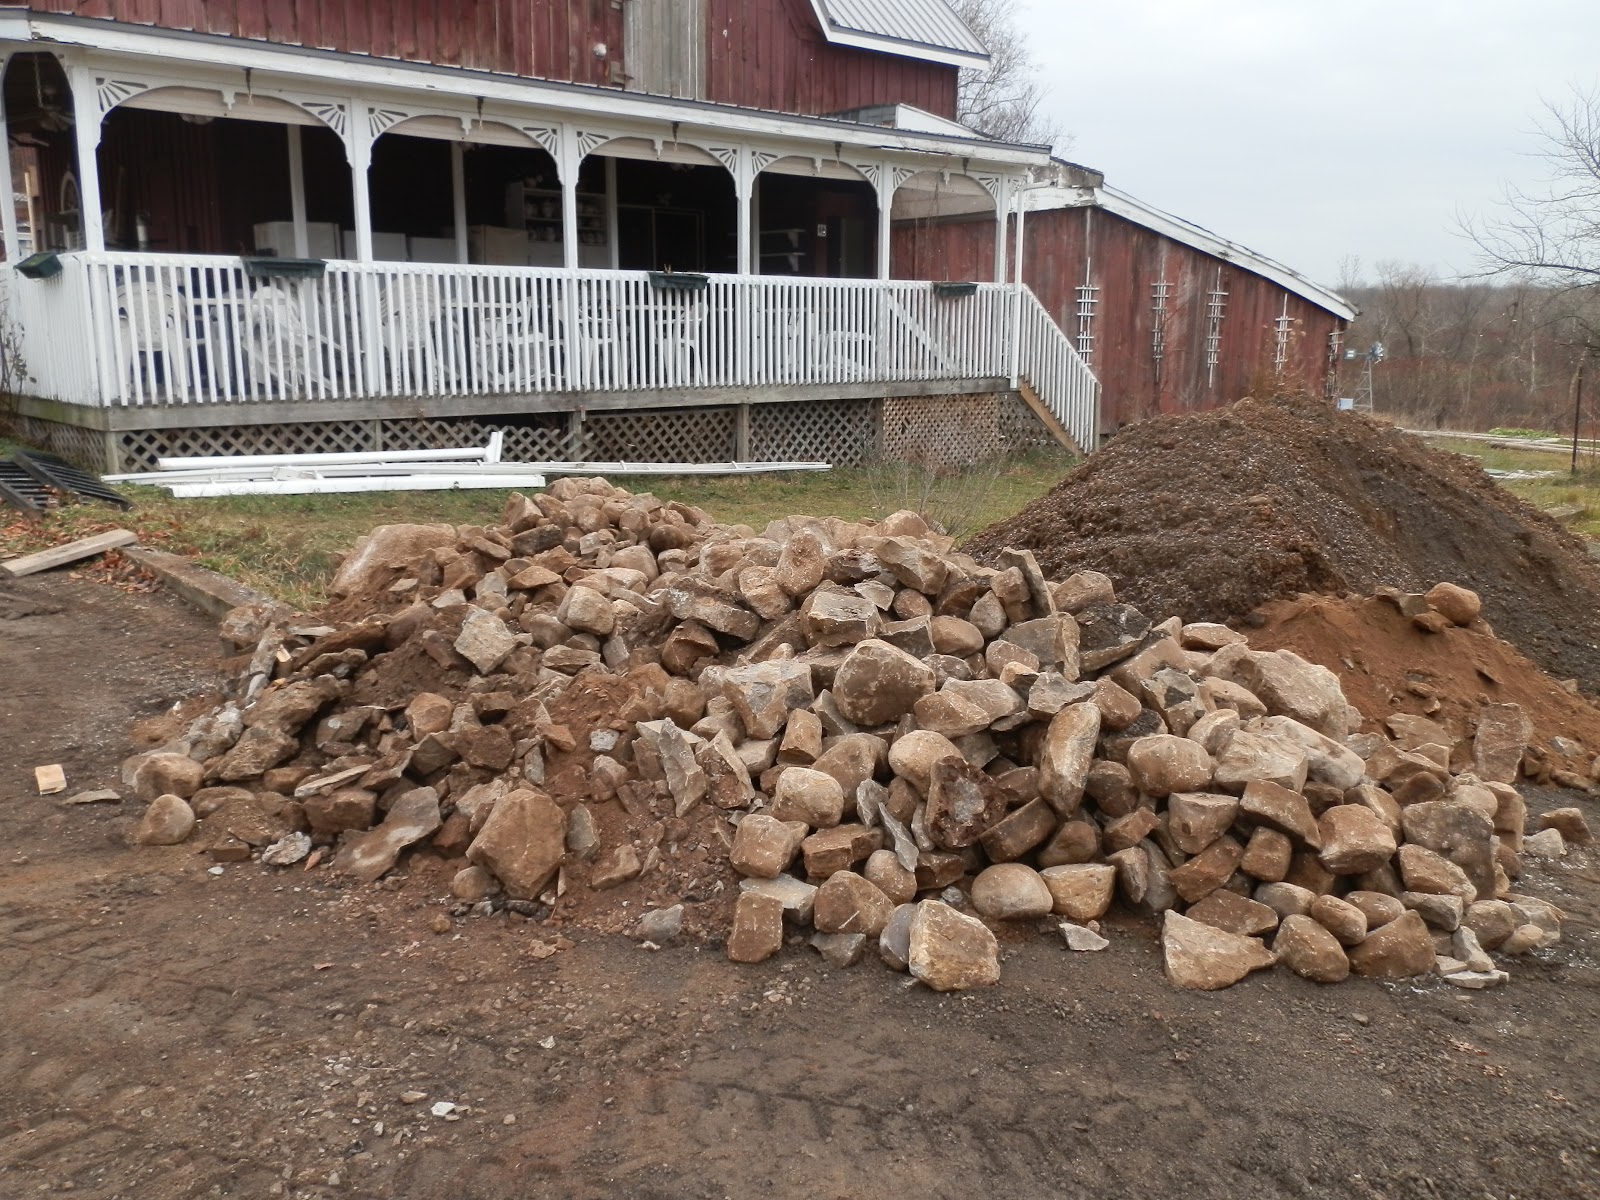
It seems that at one time the barn had a stone floor. This is evident from the flattened faces of many of these pieces, including these two massive stones.

The larger stone is some 7 feet in length (over 2 meters). We've decided to treasure these and to somehow make use of them in the course of our renovations.
The removal of those stones has allowed us to pour the foundation for a new floor for both the country market and the kitchen of the tea room.

Finally, we're not done on the winter squash experiments. This week was time for squash pancakes. Very similar to potato pancakes (shredded squash, eggs, flour and seasoning), we made ours using Pink Banana squash with onions, curie powder and cumin. They were great, especially with a dollop of sour cream.


We've tried a lot of different things with winter squash and I know there are hundreds of additional recipes to enjoy this great food. However, I think we will sign off on this series and urge everyone to try locally grown winter squash. They are inexpensive and a great source of Vitamin A. For a few dollars, you get a lot of a very healthy and versatile food. In our case, we have enough in our cellar to last the winter and to continue experimenting. We know this will now become one of our annual winter staples.
I will sign off this week with a few images of the old Carolinian forest. Although winter is rapidly approaching, it is still a great enchanting place where morning walks are always a pleasure.


No comments:
Post a Comment